A fresh coat of paint can make a garage door look new again and protect it from weather, rust, and wear. Homeowners often wonder how paint garage door so the finish lasts and looks professional. Whether your garage is attached to the home or a detached structure, preparation and the right technique make all the difference. This guide explains how to paint both metal and wood garage doors properly, from surface cleaning to final coats, and how weather and exposure affect results.
Why Painting a Garage Door Matters
Garage doors are one of the largest visual surfaces on most homes. Over time, sun exposure, rain, and seasonal temperature changes dull the color and weaken the finish. Regular painting restores appearance and provides protection against rust, moisture, and ultraviolet light. Understanding how paint garage door correctly keeps the surface sealed and prevents costly repairs later. A well painted door also enhances curb appeal and can raise the perceived value of your home.
Choose the Right Paint and Tools
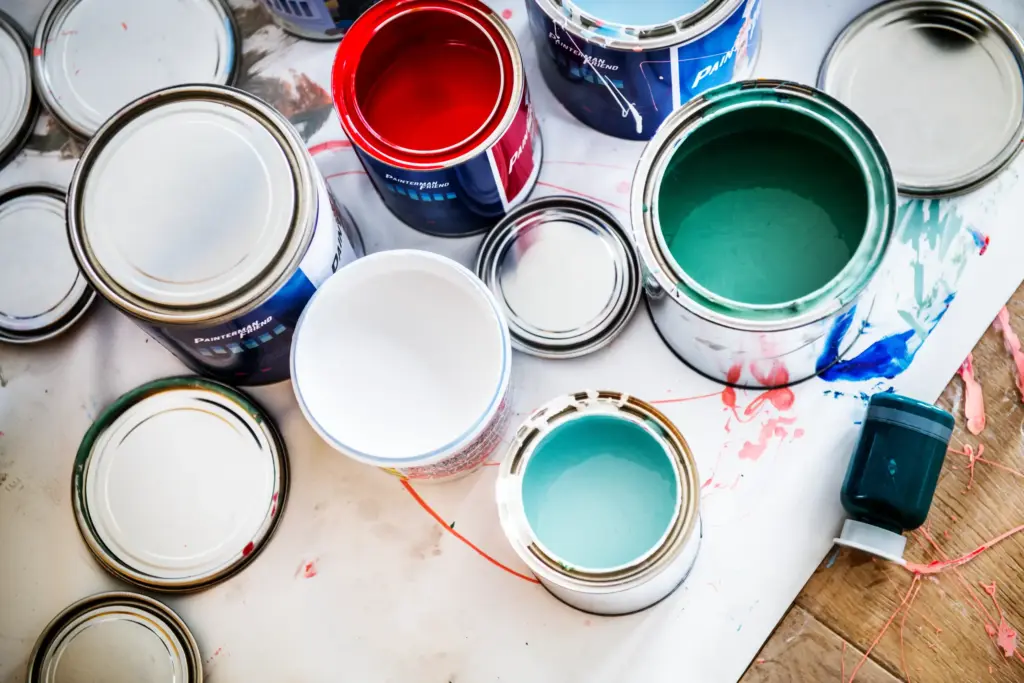
Start with quality materials that fit your door’s surface and the local climate. Exterior latex acrylic paint works best for most residential doors because it resists cracking and fading. Metal doors need paint formulated for metal or factory finished surfaces, while wood doors require primers and paints that seal porous fibers and block moisture. Choose a satin or semi gloss finish to balance durability with a clean look that resists dirt.
Gather basic tools before starting: a cleaning solution or mild detergent, sandpaper, painter’s tape, drop cloths, a high quality brush for edges, and a roller or sprayer for large panels. Having everything ready avoids drying lines or uneven sections while you work through the steps of how paint garage door efficiently.
Clean the Door Thoroughly
Cleaning removes dirt, chalky residue, and oils that prevent paint from sticking. Mix mild soap with warm water and scrub the surface using a soft brush or sponge. Rinse completely and let the door dry for several hours. For metal doors with mildew or oxidation, add a small amount of vinegar to the wash solution or use a specialized cleaner. Do not skip this step because paint applied over a dirty surface often peels within months.
Inspect for Damage Before Painting
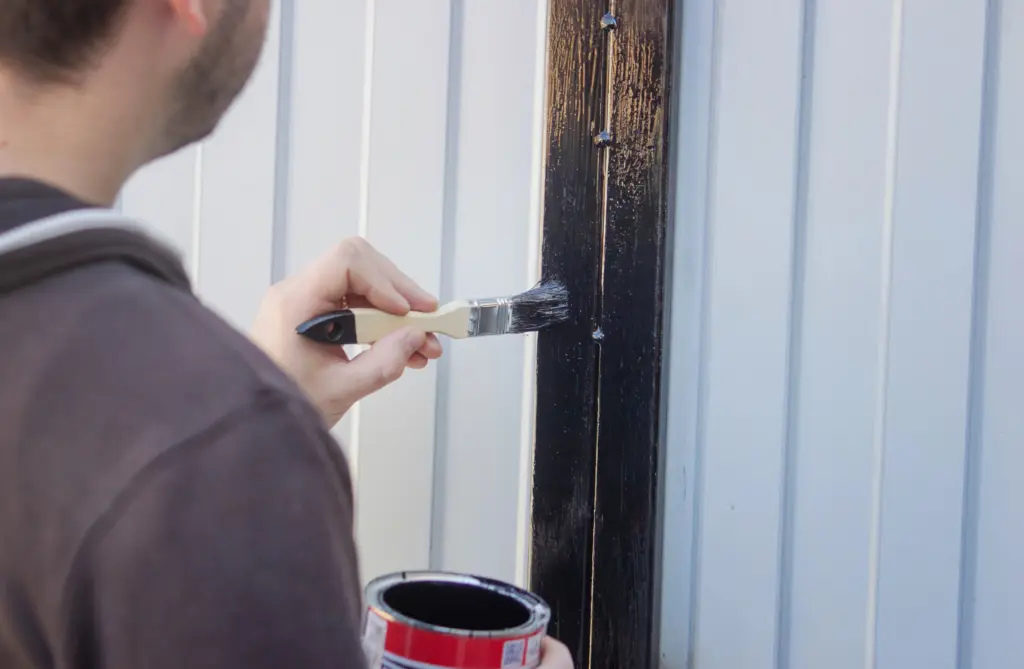
Before priming or painting, look closely at the door for cracks, dents, rust spots, or loose panels. Repair any damage first. On wood doors, fill holes or gaps with exterior wood filler and sand flush. On metal doors, sand rust to bare metal and apply a rust inhibiting primer. Checking these areas early ensures a smooth, professional looking finish once the paint dries. Inspection also helps homeowners decide if weatherstripping or hinges need attention before the door is repainted.
Prepare and Protect Surrounding Areas
Protect trim, windows, and hardware by covering them with painter’s tape and plastic or paper. Lay drop cloths under the work area to catch drips and splatter. If your garage door has a manual handle or keypad, remove it temporarily or mask it completely. Taking time to protect these details keeps the project neat and avoids cleanup headaches later.
Sand and Prime the Surface
Lightly sand the entire door with medium grit sandpaper to remove gloss and create a surface that the new paint can grip. Wipe away dust with a damp cloth. Apply primer suited to the material—metal primer for steel or aluminum, and exterior wood primer for timber doors. Primer seals the surface, blocks stains, and improves paint adhesion. Let it dry fully before moving on to painting. This preparation is essential when learning how paint garage door properly because it sets the foundation for a long lasting result.
Painting Metal Garage Doors
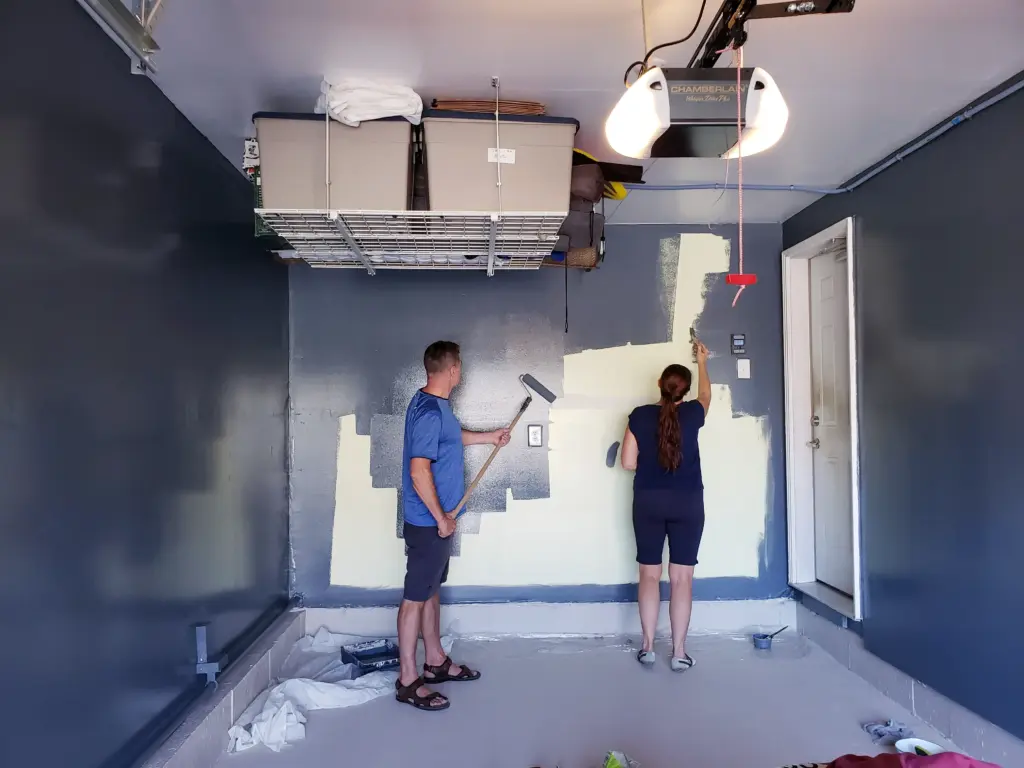
Metal doors are common because they are durable and low maintenance. Once primed, paint them using a high quality exterior latex acrylic or alkyd paint designed for metal. Start at the top and work down, using smooth, overlapping strokes with a roller or sprayer. Use a brush to cut in along edges, seams, and corners. Avoid heavy application that could cause drips. Two light coats produce a cleaner, harder finish than one thick coat. Allow sufficient drying time between coats based on manufacturer instructions.
Painting Wood Garage Doors
Wood doors need extra attention because they absorb moisture and expand or contract with temperature changes. After sanding and priming, apply paint evenly along the grain of the wood. Pay special attention to the bottom edge where water may collect and cause swelling. Apply two or three thin coats for best coverage and protection. Check for any missed areas between panels or near trim where exposed wood can invite rot. Knowing how paint garage door made of wood correctly protects against these issues and keeps the door stable across seasons.
Best Weather Conditions for Painting
Painting success depends heavily on weather. Ideal temperatures range between 50 and 85 degrees Fahrenheit with low humidity and minimal wind. Avoid painting in direct sunlight because the surface can become too hot, causing paint to dry unevenly. For attached garages, open the door and windows to improve airflow. For detached garages, paint in early morning or late afternoon when temperatures are moderate. Good conditions help the finish cure smoothly and maintain color integrity.
Painting Attached vs. Detached Garages
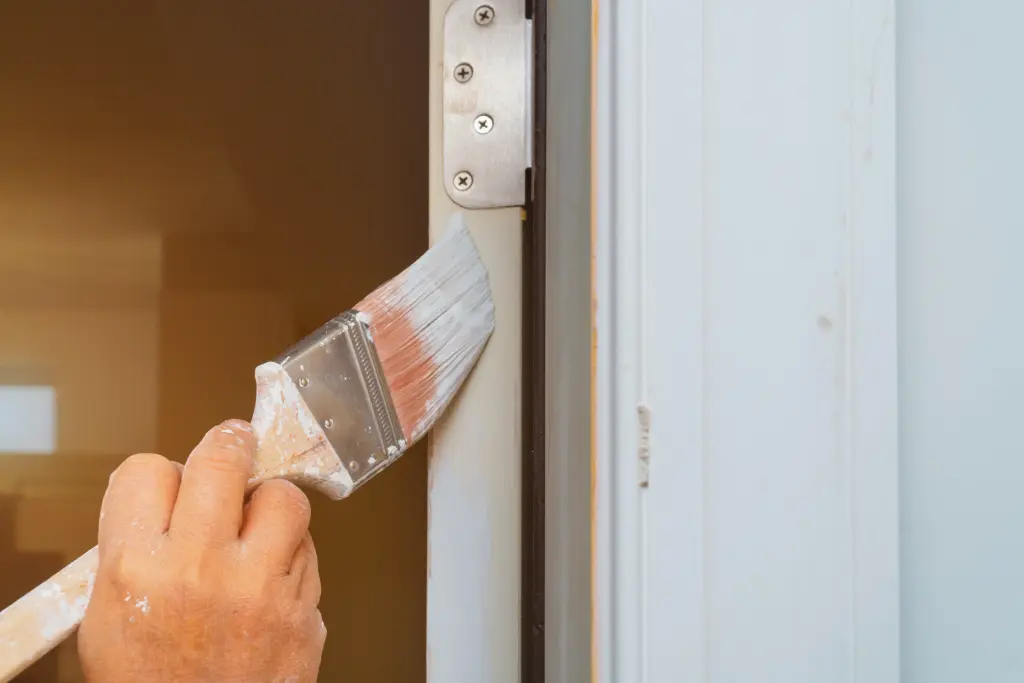
Attached garages typically share walls with living spaces, so ventilation and low odor products matter. Choose low VOC paints and keep the garage door open while painting to allow fresh air circulation. Protect the connecting doorway and floor from paint dust or drips. Detached garages face more exposure to rain, snow, and temperature changes. Their doors require durable coatings that resist expansion and contraction cycles. Planning around exposure and air movement helps homeowners understand how paint garage door in both settings effectively.
Apply Multiple Coats for Durability
One coat of paint rarely provides full coverage or durability. Wait until the first coat is completely dry, then lightly sand any imperfections before applying the second. For dark color changes, a third coat may be necessary. Follow the grain direction for wood or the panel layout for metal, maintaining consistent strokes. Proper layering prevents cracking, fading, and water intrusion, ensuring the door looks new for years.
Allow Proper Drying and Curing
Drying time varies with temperature and humidity, but plan to keep the door stationary for at least 24 hours after the final coat. Avoid operating automatic openers during this time. Touch the surface gently to confirm dryness before reinstalling hardware or opening the door. Full curing may take several days, after which the finish reaches maximum hardness and weather resistance.

Safety and Environmental Tips
Wear safety glasses and gloves while sanding or painting. If using oil based paints, ensure good ventilation to prevent fume buildup. Dispose of leftover paint properly through local recycling programs or drop off events. The U.S. Environmental Protection Agency provides information on safe paint disposal and ways to minimize waste. If the door or surrounding trim shows multiple older layers of paint and the home was built before 1978, be aware that some coatings might contain lead. The U.S. Department of Housing and Urban Development offers guidance for handling lead based paint safely during renovations.
Maintenance After Painting
After completing the project, regular maintenance keeps the finish fresh. Wash the door annually with mild soap and water to remove dirt and prevent mildew buildup. Inspect edges and seams for cracks or chips each spring and fall. Touch up small areas promptly to prevent corrosion or wood damage. Repaint every five to seven years for wood and every seven to ten years for metal, depending on sun exposure and weather conditions. Consistent care extends the door’s life and maintains its visual appeal.
Common Painting Mistakes to Avoid
Rushing the job or skipping preparation causes the most problems. Avoid painting over dirt or flaking paint. Do not paint in extreme temperatures or when rain is forecast within 24 hours. Resist the urge to apply thick coats to speed up work because they dry unevenly. Always stir paint thoroughly to maintain consistent color. Taking time to follow each step ensures the finish looks uniform and lasts.
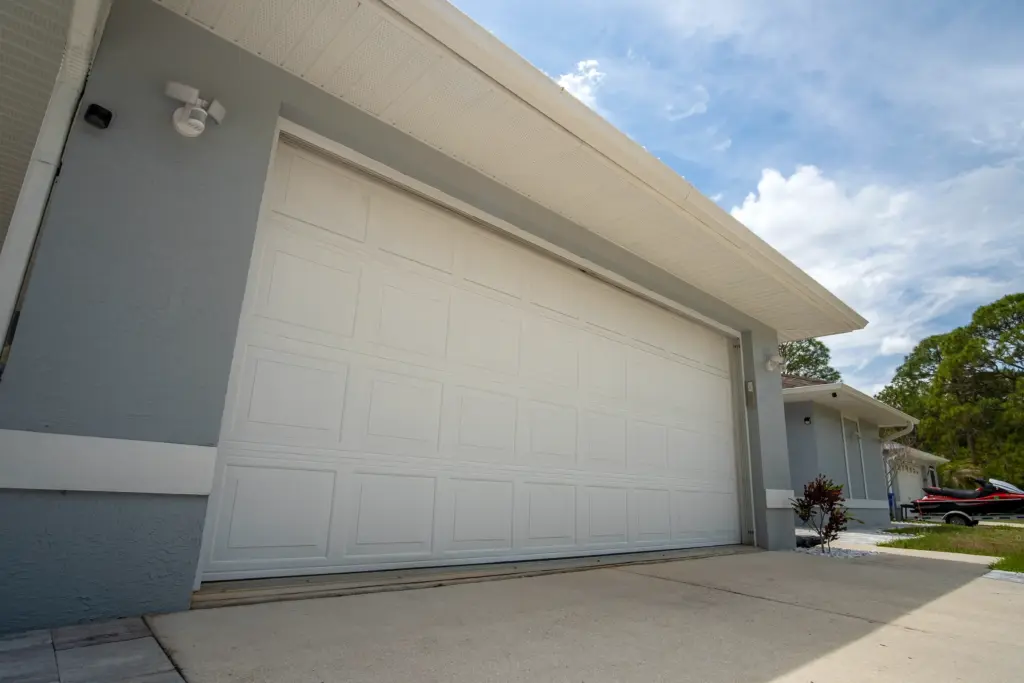
How Paint Garage Door Adds to Home Value
Refreshing a garage door may seem minor, but it significantly influences curb appeal. Real estate professionals often mention that a clean, well painted door suggests a well maintained property. It can make the difference between a home that looks dated and one that feels cared for. Since the garage is one of the first features visible from the street, its condition reflects the home’s overall upkeep. Understanding how paint garage door the right way helps homeowners protect their investment and create a strong first impression.
Conclusion
Learning how paint garage door correctly is an achievable and rewarding project. Start with a clean, repaired surface, choose the right paint for your material, and work under suitable weather conditions. Two or more light coats, proper drying, and regular upkeep ensure the door stays beautiful for years. If you notice peeling, moisture stains, or structural issues during preparation, consider scheduling a home inspection to understand the underlying cause. For detailed inspection services that help homeowners maintain safe, durable homes, visit Icon Home Inspectors or review our inspection services. Taking care of the details today preserves your home’s strength and appeal tomorrow.