Fresh paint gives a door a clean look, protects the surface, and improves the feel of the room or entryway. Many homeowners ask how paint a door without streaks or drips and how to make the finish last. The right approach combines careful preparation, patient application, and attention to drying conditions. This guide walks you through each stage for both interior and exterior doors so you can achieve a smooth, durable result on the first try.
Why Technique Matters for a Lasting Finish
Painting a door is more than changing color. Paint forms a protective film that shields wood or metal from humidity, cleaning products, sunlight, and daily contact. Poor technique leaves brush marks, uneven sheen, or premature peeling. Good technique creates an even film thickness, strong adhesion, and a surface that cleans easily. When you understand how paint a door correctly, you extend the life of the door and avoid repeat work.
Choose Paint and Primer That Fit the Surface
Match products to the material and location. Interior doors benefit from quality latex enamel with a satin or semi gloss sheen because these finishes resist scuffs and wipe clean. Exterior doors face sun and rain, so exterior grade acrylic or alkyd formulas are best. Bare wood needs a bonding primer that seals grain and evens absorption. Metal requires a rust inhibiting primer. If you are changing from a dark color to a light color, a stain blocking primer saves time and prevents bleed through. Reading labels carefully helps you decide how paint a door with the fewest coats and the most reliable bond.
Prepare the Door Before You Open a Can
Preparation determines how well the new finish sticks. Clean the surface with a mild detergent solution to remove skin oils, cooking residue, and dust. Rinse and let it dry completely. Remove hardware if practical, or mask it with painter’s tape. Lightly sand glossy paint with a fine abrasive to dull the sheen. Fill small dents with wood filler, let it cure, and sand flush. Wipe away dust with a tack cloth. If you see flaking paint or rust on metal, continue sanding until the surface feels sound and smooth. This careful start is the foundation for every step that follows when you plan how paint a door properly.
Decide Whether to Paint in Place or Off the Hinges
Painting a door laid flat reduces the chance of runs and makes edges easier to coat. Remove hinge pins and carry the door to a pair of sturdy supports. If removing it is not practical, prop the door open, stabilize it with a wedge, and protect the floor with a drop cloth. Either method works when you control drips, maintain a wet edge, and give yourself enough room to move comfortably.
Prime for Adhesion and Color Uniformity
Primer improves adhesion and evens the surface so the topcoat levels out. Apply a thin, even coat with a high quality brush for panels and a small roller for flat sections. Let primer dry fully, then sand lightly to knock down any raised grain or dust nibs. Wipe clean before applying paint. Skipping primer often leads to flashing, patchy color, and poor durability. Including it in your plan for how paint a door saves time overall because the topcoats cover more predictably.
Use a Logical Painting Sequence
A consistent order prevents lap marks and makes the finish look uniform. Start with the detailed areas such as recessed panels, bevels, and profiles. Brush these sections with light pressure and finish each area with gentle, long strokes that follow the shape. Move to the horizontal rails, then the vertical stiles. On a completely flat door, roll the broad areas in smooth passes, then lightly tip off with a brush to blend the texture. Work from the top down to control gravity and avoid touching fresh paint while you reach lower sections. This sequence keeps wet edges aligned and is central to mastering how paint a door with a professional result.
Control Film Thickness and Drying Conditions
Thin, even coats beat a heavy coat every time. Overloaded brushes or rollers leave sags and extend drying time. Stir paint thoroughly, pour a manageable amount into a tray, and reload tools often. Maintain room temperature within the range printed on the can. Avoid high humidity, which slows water evaporation and can dull the sheen. For exterior work, paint when the surface is shaded and the air is calm. Direct sun speeds drying on the surface while the lower layer remains soft, which traps solvents and leads to premature failure. These environmental details matter when deciding how paint a door so the finish cures hard and smooth.
Sand Lightly Between Coats
After the first coat dries, run your hand across the surface. If it feels slightly rough, a quick pass with fine sandpaper will remove dust nibs and tiny ridges. Wipe with a clean cloth and apply the second coat with the same steady rhythm. This simple step produces a silky texture, makes the sheen more uniform, and helps the second coat bond mechanically as well as chemically.
Special Notes for Interior Doors
Interior doors receive frequent handling around the knob and edges, so durability and cleanability matter. A satin or semi gloss latex enamel stands up to fingerprints and routine cleaning. Keep rooms ventilated during painting and drying, and allow enough cure time before closing the door to prevent sticking at the stops and weatherstripping. If you are painting multiple interior doors, stage them in a sequence so one dries while you work on the next. Planning like this shortens the total project time while maintaining focus on quality.
Special Notes for Exterior Doors
Exterior doors face moisture, temperature swings, and ultraviolet light. Select an exterior rated product with strong UV resistance. Inspect the bottom edge and the top edge, which often go unsealed. Coat those edges to prevent moisture entry that causes swelling or warping. Watch the forecast and choose a calm, mild day. If dew forms overnight, allow the surface to dry before applying the next coat. Strong results outdoors come from patience, clean edges, and respect for weather, which are all part of knowing how paint a door so it lasts through the seasons.
Finishing Edges, Joints, and Profiles
Edges and profiles collect runs if you overload them. Brush these areas first with a small amount of paint, then blend into the broader surfaces. For paneled doors, finish each recess before moving on so the paint in that section flows and levels while it is still wet. Check the lower edge last for drips that may have collected as you worked downward. A quick feathering stroke prevents a hardened lip.
Cleaning Up Without Damaging the Finish
Put lids on cans promptly to reduce skin formation and solvent loss. Clean latex from brushes and rollers with warm water and mild soap. For oil based products, follow the label instructions and use an appropriate solvent. Dispose of solvents and leftover paint responsibly. The U.S. Environmental Protection Agency provides guidance on safe disposal and recycling options that protect waterways and soil. You can review those homeowner resources at the EPA website. Store remaining paint in a small, well sealed container labeled with the room and color for future touch ups.
Dealing With Older Coatings and Safety Considerations
Homes built before 1978 can contain lead based paint under newer layers. If sanding exposes brittle, heavy chips or a sweet metallic odor is present when you disturb old paint, stop and consult qualified guidance. The U.S. Department of Housing and Urban Development publishes homeowner information on working safely around potential lead hazards. Reviewing those materials helps you plan how paint a door in an older home while protecting family health. You can learn more at the HUD website.
Common Problems and Simple Corrections
Runs happen when too much paint gathers on vertical sections. While the coat is still wet, lay a clean brush into the run and pull upward lightly, then blend the area. Lap marks appear when one section dries before the next section overlaps. Avoid them by keeping a wet edge and working in small zones. Brush marks remain when paint is too thick or the brush is poor quality. Use a fine bristle brush, apply less pressure, and let the paint self level. Tackiness at the edges occurs if you close the door too soon. Allow more cure time and consider adding temporary spacers at the latch to prevent sticking.
Care After the Final Coat
New paint reaches full hardness over time. Treat the surface gently during the first days. Clean with a damp cloth rather than strong cleaners. Reinstall clean hardware to avoid grinding dust into the finish around the knob and latch. For exterior doors, inspect caulk lines at the trim and threshold and refresh them if gaps appear. Regular maintenance keeps moisture out and preserves the film you worked to build.
When to Recoat and How to Match Sheen
High traffic doors show wear first around handles and lower panels. Touch up early while the affected area is small. Use the same product and sheen, stir thoroughly, and feather edges so the repair blends. If the entire face looks dull or chalky outdoors, wash the surface and apply a light refresher coat. Matching sheen is as important as matching color. Test a small area in an inconspicuous spot before committing to the whole door.
Conclusion
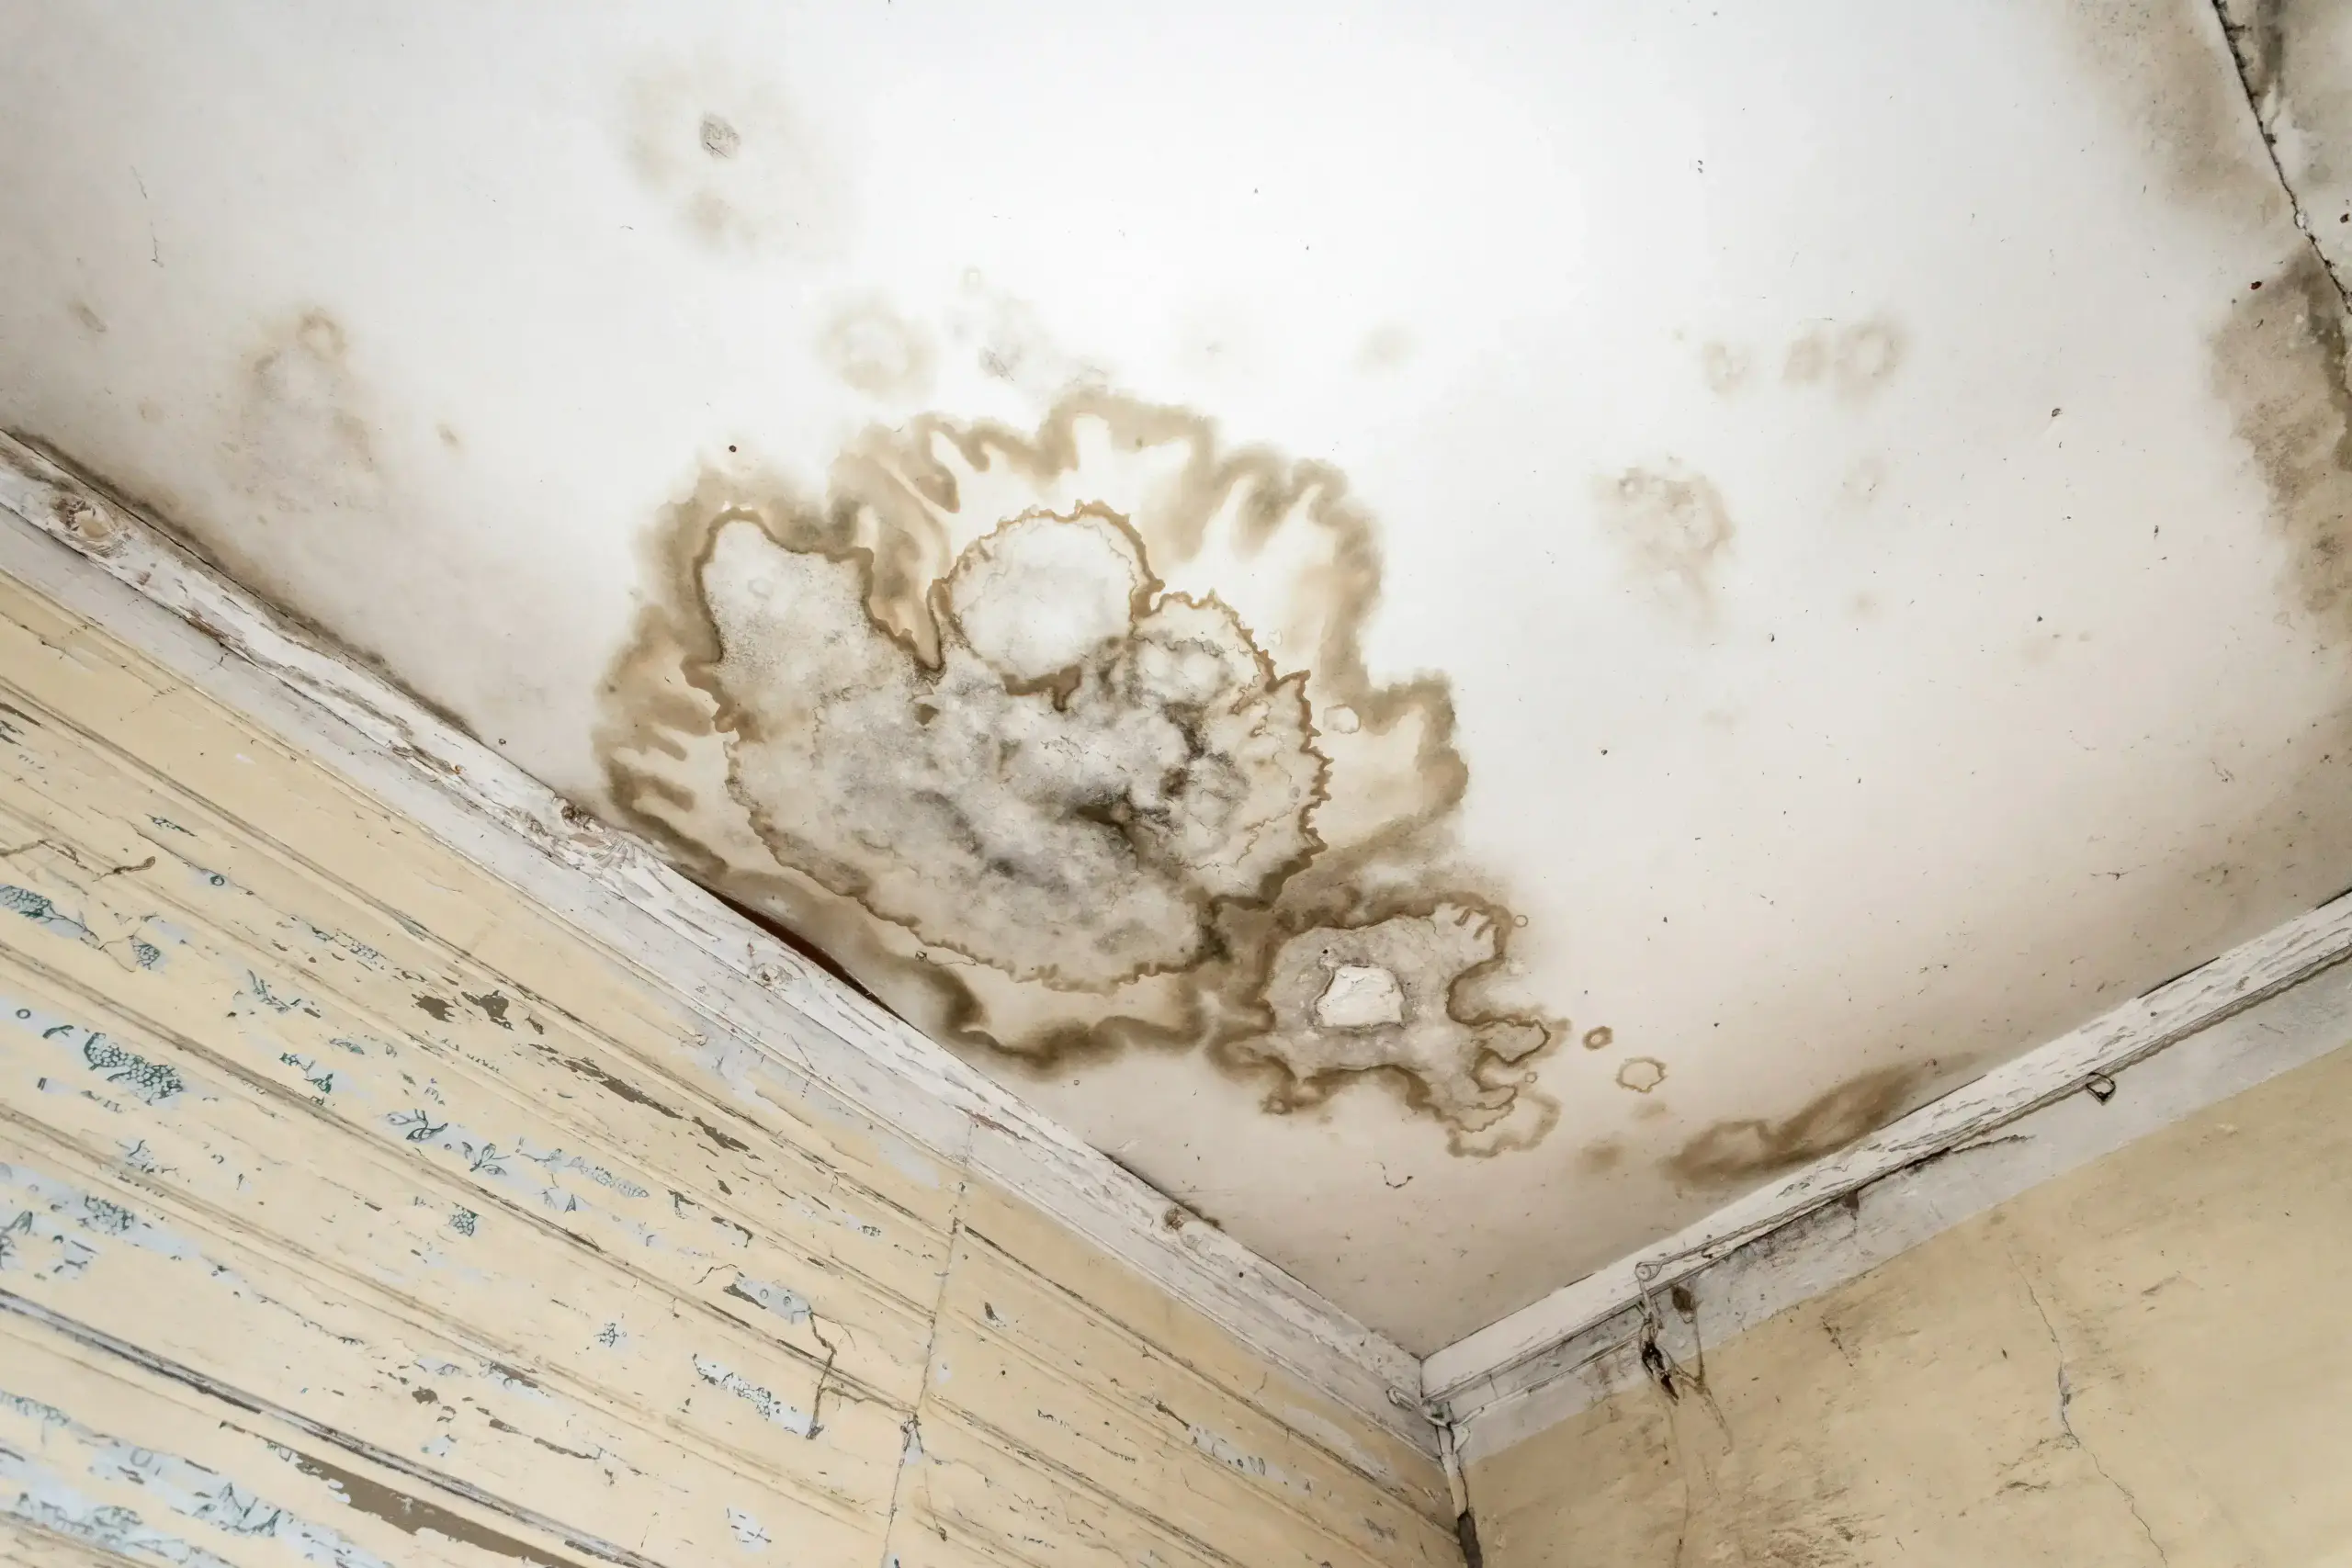
From the first cleaning step to the last gentle pass of the brush, knowing how paint a door leads to a finish that looks sharp and lasts through daily use. Choose products suited to the surface, prepare patiently, follow a steady sequence, and respect drying conditions. If you notice peeling near thresholds, stains that suggest moisture, or other concerns that point to conditions beyond paint, a professional evaluation can clarify the cause and guide repairs. For clear information about your home’s condition and for links to related services, visit Icon Home Inspectors or review our inspection services. A well informed plan keeps doors looking great and helps protect the structure around them.